Pay Now Overview
Pay Now is an extension of Abacus Payment Exchange (APX) that lets organizations designate certain invoices to be paid through an email link to an APX payment system. This allows the organization’s clients to pay invoices directly, rather than requiring the organization to take the payment information and handle payment processing.
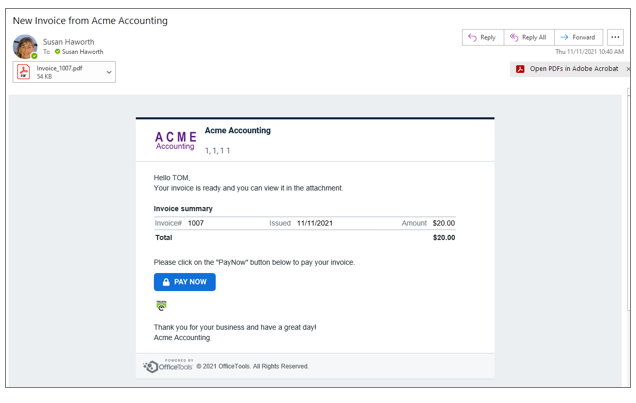
Here's how Pay Now works: Once implemented, invoices are emailed to clients with a link. When the client clicks the link, APX launches, and the client can enter the payment. Note that Pay Now can use Multi-Factor Authorization (MFA). Since MFA requires an additional identity verification through phone, it provides clients with an added layer of security and validity when they submit their payments.
Only invoices with a status of Final or Partial Payment can use Pay Now.
Note that, when using Multi-Factor Authorization, it is important to have cell phone numbers entered for your clients since they will be texted to verify their identity.
Following is an example of the emailed invoice a client would receive when using Pay Now:
Configuring Pay Now
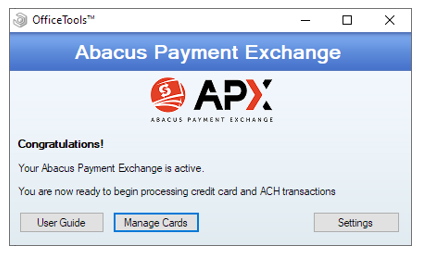
- Select Billing > Payments and click the APX
- The APX window appears. Click Settings.
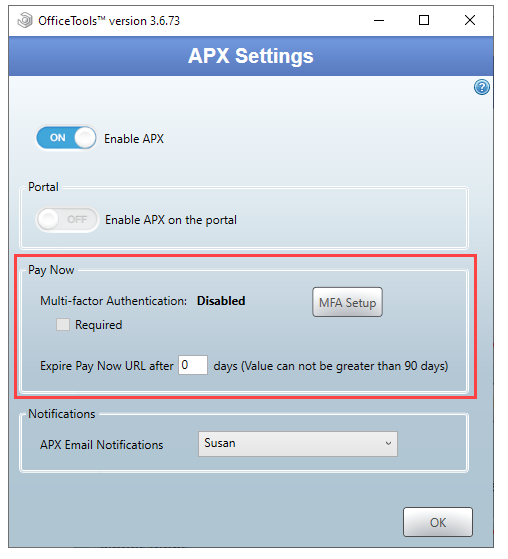
- The APX Settings window opens. Configure Pay Now using the settings in the Pay Now If your organization wants to use Multi-factor Authentication (MFA), click MFA Setup.
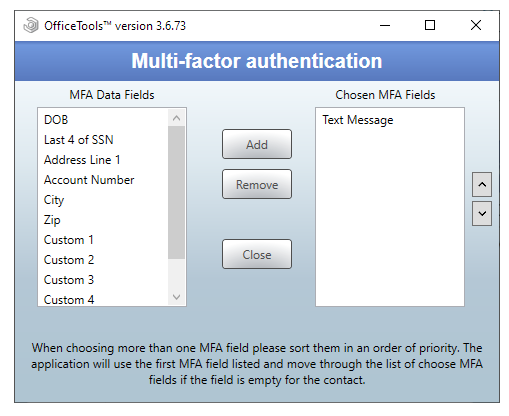
- The Multi-factor authentication window opens. Highlight the field or fields you want to use to verify identification and click Add to move the fields to the Chosen MFA Fields For example, if you want to send a text to verify identification, you might select the Text Message field. If you select more than one field for authentication, order them in priority. The top (first) field in the list will be tested first. Click Close to save your changes.
- Back in the APX Settings window, check Required if MFA will be required for clients to make payments.
- In the Expire Pay Now URL after field, enter the number of days the Pay Now URL can be accessed by the user. For example, if the expire value is 30, users will not be able to access the Pay Now link after 30 days. Up to 90 days can be entered.
- Click OK to save your changes.
Comments
0 comments
Article is closed for comments.