Contact Groups are a key component of WorkSpace’s CRM capabilities. They can be used to group clients together for mass mailing, email campaigns, envelope, and label printing, etc.
1. To access the Contact Groups menu, navigate to Setup>Contacts>Assign Contact Groups. This will allow you to define or create desired Contact Group labels, assign contacts to a group by contact, and allow you to assign contacts to a group by group.
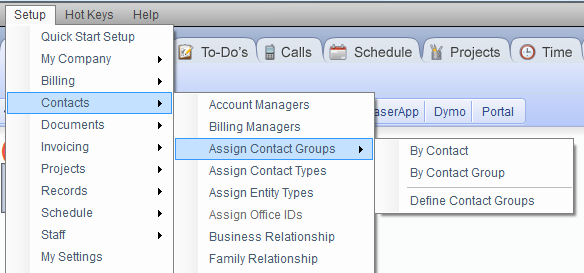
Please note: These menus can also be accessed by clicking on the "Settings" icon in the toolbar of the Contacts Tab. (Settings icon resembles two gears).
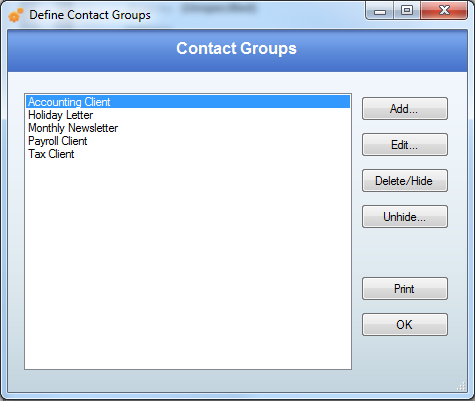
2. Defining your Contact Groups is the first step in successfully utilizing this function. In whatever fashion that contacts need to be organized and grouped (Monthly Newsletter Clients, Holiday Letter Clients, Payroll Clients, etc…), those labels should already be added into your Contact Group options.
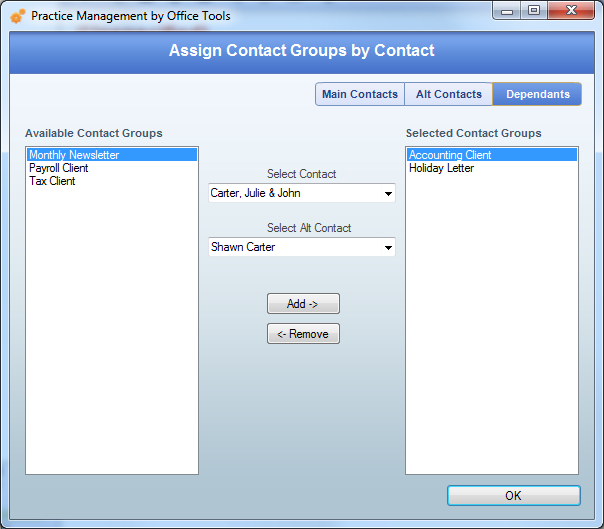
3. There are two options to make sure the appropriate contacts are associated with the correct Contact Groups. The lesser-used option is assigning Contact Groups By Contact, meaning you pick a contact and associate all of the Contact Groups they are a part of to them. Assign main contacts, alternate contacts, and dependents separately using the corresponding buttons in the upper right-hand corner of the window. On the left of the screen will be all Contact Groups that have been created. Click on one or use the Shift or Ctrl keys to select multiple and click Add-> to assign the chosen Contact Groups to that contact. This option is most commonly used when you acquire new contacts.
Comments
0 comments
Article is closed for comments.