OVERVIEW:
Reference the following guide for the steps you will need to take in order to transfer files to/from your Cloud to/from your MAC device.
REQUIREMENTS:
Microsoft Remote Desktop 8 downloaded/installed from the App Store.
Active Cloudnine username.
PROCEDURE:
Uploading to Cloudnine
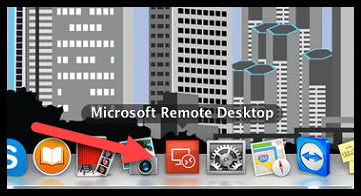
1. Start RDC 8 Mac from your Dock.
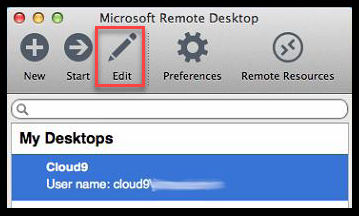
2. Select your login & click Edit.
3. Click Redirection.
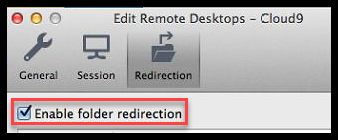
4. Verify Enable Folder Redirection is selected.
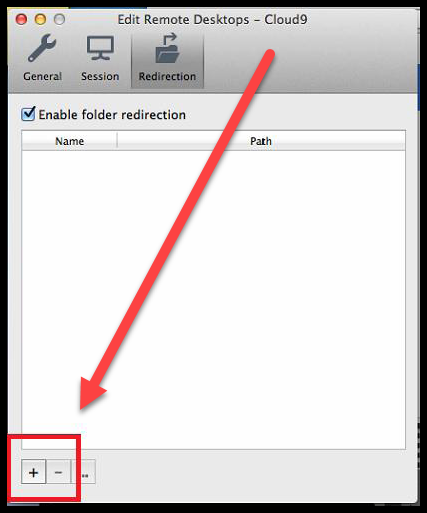
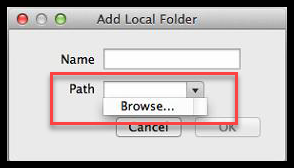
5. Click the "+" icon to add a folder to the cloud.
6. Select Browse from the Path drop-down
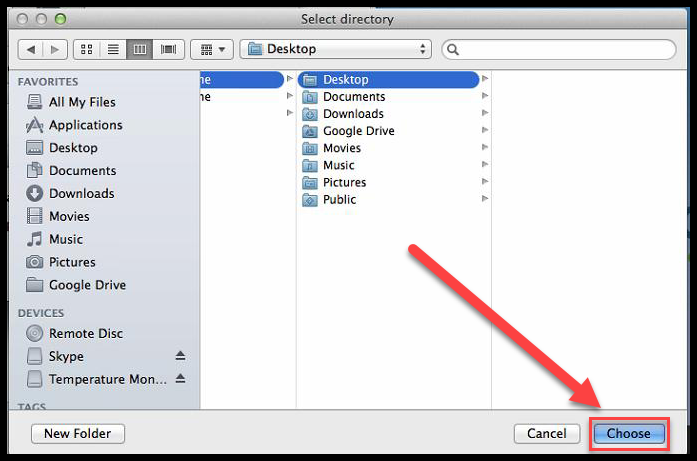
7. In the Select Directory window, select the folders to be copied and click Choose.
You can now log in and access your data using Cloud Files. Repeat the steps above if you want to select/copy additional folders, just make sure to close the window to save your changes.
Transferring Files from within the Cloud
1. Click the Cloud Files icon on your Cloud Desktop.

2. Click Computer in the left pane of the window

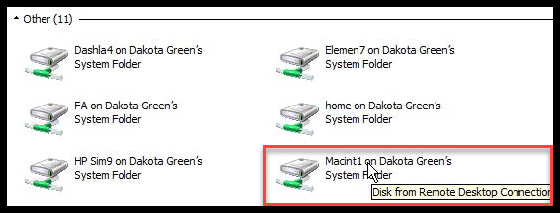
3. Below your H: drive, you will be able to see your mapped drive listed under Other. Your local hard drive will be listed under Macin1 on [computer name].
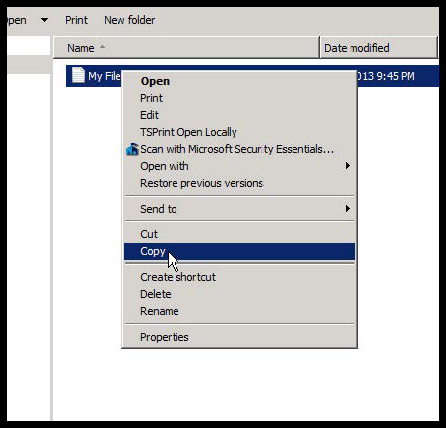
4. Navigate to the location of the files you wish to copy
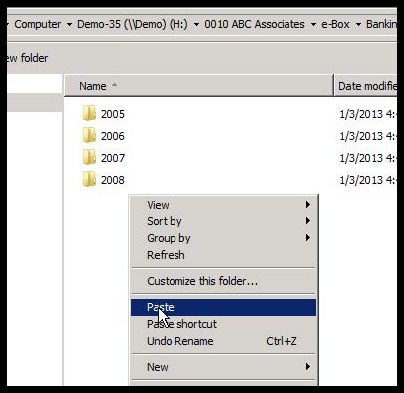
5. Copy-paste or drag and drop the file(s) to the H:\ drive
Transfer times are determined by the size of the file and your internet connection. The larger the file, the longer it will take. Cloudnine recommends that you transfer larger files during off-hours or by contacting your Account Manager for more options.
Comments
0 comments
Article is closed for comments.